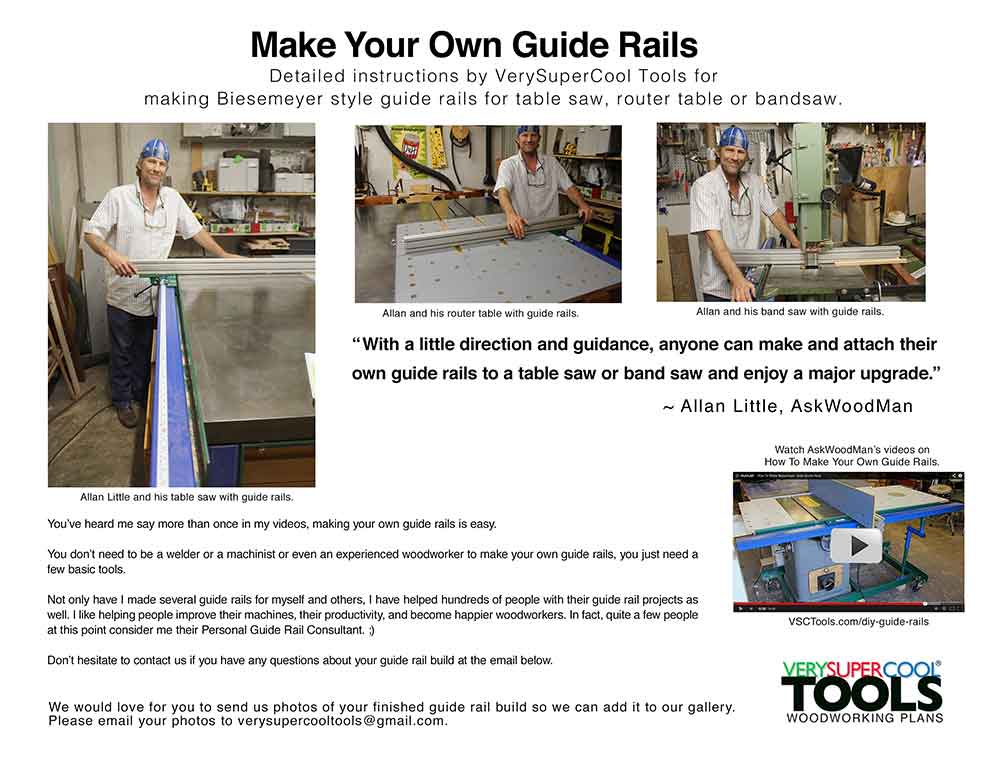
STEP BY STEP GUIDE RAIL SERIES – October 2014 series
These are the companion videos to the
“Step by Step” guide rail blog post.
5 videos / 40 steps
CONDENSED GUIDE RAIL BUILD
Play video 1 Steps 1 – 10
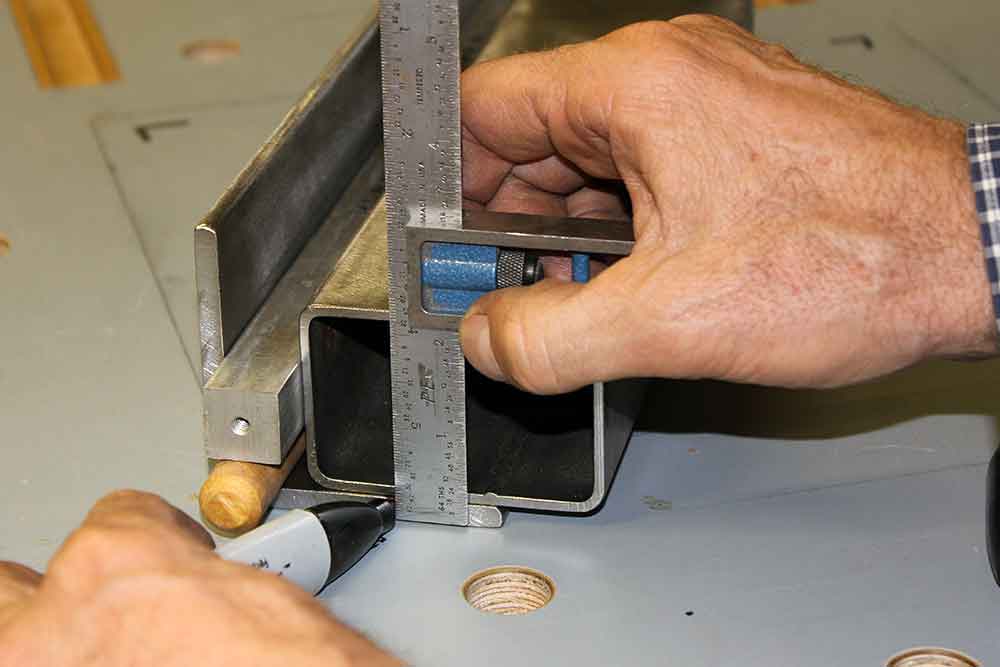
STEP 1. MEASURESTEP 2. ACQUIRE STEELSTEP 3. CUT STEEL TO LENGTHSTEP 4. CLEAN STEELSTEP 5. EXAMINE TUBINGSTEP 6. PARALLEL SPACING SET UPSTEP 7. MARK BOLT LINE ON BOTHSTEP 8. DRAW ANGLE IRON HOLE SPACING LINESSTEP 9: MAKE EXACT DRILL MARKS ON ANGLE IRONSTEP 10: DRILL FIRST HOLE SIZE ON ANGLE IRON
Play video 2 Steps 11-20
STEP 11: CLAMP TUBING TO ANGLE IRON STEP 12: DRILL MARKS ON TUBINGSTEP 13: UNCLAMP AND DRILL HOLES IN TUBINGSTEP 14: TAP HOLES IN TUBINGSTEP 15: DRILL HOLES IN ANGLE IRONSTEP 16: BOLT ANGLE IRON TO TUBINGSTEP 17: CHECK SPACINGSTEP 18: DETERMINE CONNECTION LOCATIONSTEP 19: DRILL HOLES INTO TABLESTEP 20: CLAMP GUIDE RAIL TO TABLE
Play video 3 Steps 21-30
STEP 21: MARK HOLE LOCATIONS ON ANGLE IRON FROM TABLESTEP 22: UNCLAMP AND UNBOLT ALLSTEP 23: STEP DRILL HOLES IN ANGLE IRONSTEP 24: COUNTERSINK ANGLE IRONSTEP 25: HAND DRILL TABLE HOLESSTEP 26: SLIDE BOLTS IN ANGLE IRONSTEP 27: BOLT ANGLE IRON TO SAW STEP 28: BOLT TUBING TO ANGLE IRONSTEP 29: TIGHTEN AND CHECK FITSTEP 30: MARK MITER CUT OUTS
Play video 4 Steps 31-35
STEP 31: UNBOLT EVERYTHING!STEP 32: CUT MITER SLOTSTEP 33: SOFTEN MITER SLOT EDGESSTEP 34: CLEAN WITH MINERAL SPIRITSSTEP 35: PRIME
Play video 5 Steps 36-40
STEP 36: PAINTSTEP 37: CLEAN PAINT FROM THREADSSTEP 38: BOLT ANGLE IRON TO SAWSTEP 39: BOLT TUBING TO ANGLE IRON STEP 40: FINAL ANGLE IRON PLACEMENT
HOW MUCH STEEL SHOULD I BUY?

HOW TO MAKE BIESEMEYER STYLE GUIDE RAIL – March 2013 series
Allan Little’s original series showing the fabrication of three sets of guide rails.
36 videos / 5 parts
SERIES INTRO:
Play video intro Allan shows the end result of the project and discusses what the series will cover; making guide rails for his table saw, guide rails for his band saw and guide rails forprofessional guitar maker Jerome Little’s table saw.
TABLE SAW GUIDE RAIL INSTALL:
Play video 1 Pulling off the old bent Biesemeyer guide rail and preparing for the new one.
Play video 2 Marking the angle iron and getting ready for drilling for saw attachment.
Play video 3 Drilling and countersinking marked spots. Show drill technique for opening up washers quickly and easily.
Play video 4 Taking more careful measurements, making adjustments, getting ready for final angle iron locking position.
Play video 5 Final details, including tune up on extension table alignment on outfeed side while steel straight edge is attached.
BAND SAW GUIDE RAIL INSTALL:
Play video 1 Beginning the installation process to attach to Hitachi CB75F bandsaw.
Play video 2 Detailed discussion how I fastened the steel together for my band saw guide rail.
Play video 3 Final install on Hitachi CB75F. Demonstration and more details discussed.
FABRICATING GUIDE RAILS:
Play video 1 Introduction to the fabrication portion of this series
Play video 2 Cutting steel to length with Portaband. Degrease and clean the steel.
Play video 3 Spacing and marking strategy. Discuss layout for drilling and tapping the tubing to the angle iron.
Play video 4 Clamping the angle iron and tubing together before using the tap drill to mark the tap hole locations for drilling
Play video 5 Layout, measure and mark for drilling and tapping the longer guide rail setups, mating tubing to angle iron
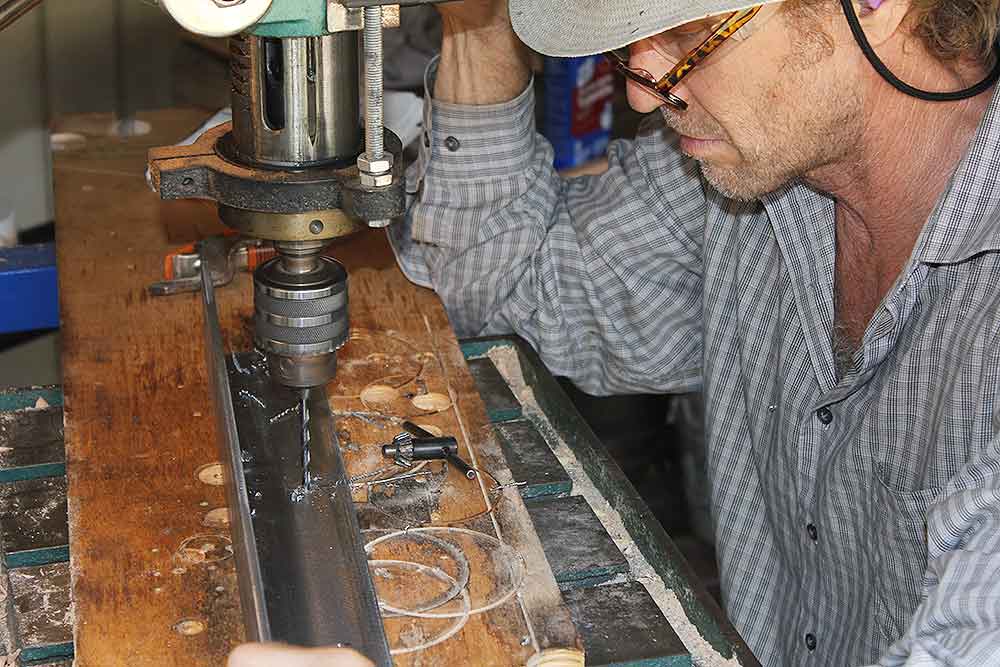
Play video 6 Continuing with the marking methods for perfect alignment. Drill holes out to 5/16″ on the drill press.
Play video 7 Finish tapping with the hand tapper. Show another tapping technique that requires only a tap and a wrench.
Play video 8 Layout / mark miter slot in the angle iron. Use drill press technique for making perforated holes first.
Play video 9 Use large single fluted countersink to prepare bolt holes for guide rail assembly. Countersink angle 82 degrees/SAE, 90 degrees/Metric. Cutout miter notch with Portaband, jig saw or die grinder.
Play video 10 Making the poplar frame for the extension table. Demo for quick router technique for cutting mortices and how to quickly square the corners to accept tenons.
Play video 11 Demonstrate quick method for cutting the stub tenons for my extension tables on the table saw.
Play video 12 Dry fit the frames and then glue up. Assembly plans changed and resulted in making special cleats that were pressed and clamped in place with glue instead of screwing into the poplar.
Play video 13 Using a Festool domino to accurately join two pieces of scrap Baltic birch to form a larger panel. Then edge glue and add cauls to ensure flatness.
Play video 14 Laying out the 20mm hole pattern on Jerome’s extension tables. There is nothing better than a multi-function top for holding work with various clamps.
Play video 15 Drilling the 20mm holes on the drill press. I made the hole pattern so I was able to drill within the throat capacity of my drill press to speed the process.
Play video 16 I template rout the touter table drop in the hole.*
Play video 17 Marking out the drill screw pattern for attaching the plywood to the frame and then screwing into place.
Play video 18 Gluing the laminate on to the two extension tables. Then trimming laminate and drilling out the 20mm holes.
Play video 19 Make practice cuts in plywood to get the disc sized just right in my circle cutting jig. Then make the disc that will be the router table insert.
Play video 20 Beginning the fabrication of a simple router table insert leveling mechanism.
Play video 21 Finishing the leveling and adjustment mechanism for the router table insert.
IMPORTANT NOTE: While no welding is necessary for guide rails, I did do welding for this series. I needed to make a mobile base for the table saw as well as support legs for the extension table.
WELDING MOBILE BASE AND SUPPORT LEGS:
Play video 22 Introduction to the welding portion of this series. Explaining what was needed and how it was done.
Play video 23 Begin steel fabrication of Jerome’s mobile table saw base.
Play video 24 Continue welding on mobile table saw base.
Play video 25 Begin steel fabrication for the support legs for Jerome’s table saw.
Play video 26 Continue fabricating of the components for the adjustable articulating legs that will support the angle iron of the guide rails to the mobile base.
Play video 27 Welding done. Show final welded pieces. The is the end of the welding portion of the series.
GUIDE RAIL TAPE MEASURE – April 2013 singles
Tips for accurate tape placement and zeroing out pointer to tape.
Play video 1 How to accurately attach tape measure to your guide rail
Play video 2 How to Zero Out the Fence/Pointer To The Guide Rail Tape
BAND SAW GUIDE RAIL – January 2014 series
Allan Little makes bandsaw guide rails.
4 Videos
Play video 1 Reviewing the plans and brightening the steel.
Play video 2 Marking using a center head. Cutting the steel with Portaband.
Play video 3 Measuring and layout. Using drill to mark hole locations
Play video 4 Packing and shipping guide rail. Assembly and demo on bandsaw.
Read more guide rail info below, in blog posts or downloadable pdf.
BLOG POST: Table Saw Guide Rails ––– Step by Step Instructions
40 Step by step detailed written instructions, with photos, on how to make your own guide rails.
READ MORE
Free Guide Rail Plans
These plans contain all the guide rail information found on this website in one concise, 20 page pdf.
FREE GUIDE RAIL PLANS
BLOG POST: Making Your Own Guide Rails ––– An Overview
Allan Little’s general overview of what is involved and the basic concepts of making your own guide rails.
READ MORE
BLOG POST: Making Your Own Guide Rails ––– A Checklist
Allan Little’s complete checklist including all the materials and tools needed to make your own guide rails.
READ MORE

BLOG POST: Guide Rail Spacing Specifications – Parallel Gap
It’s important to have the correct parallel spacing for your guide rail to work properly. Allan shows his techniques for achieving perfect spacing.
READ MORE
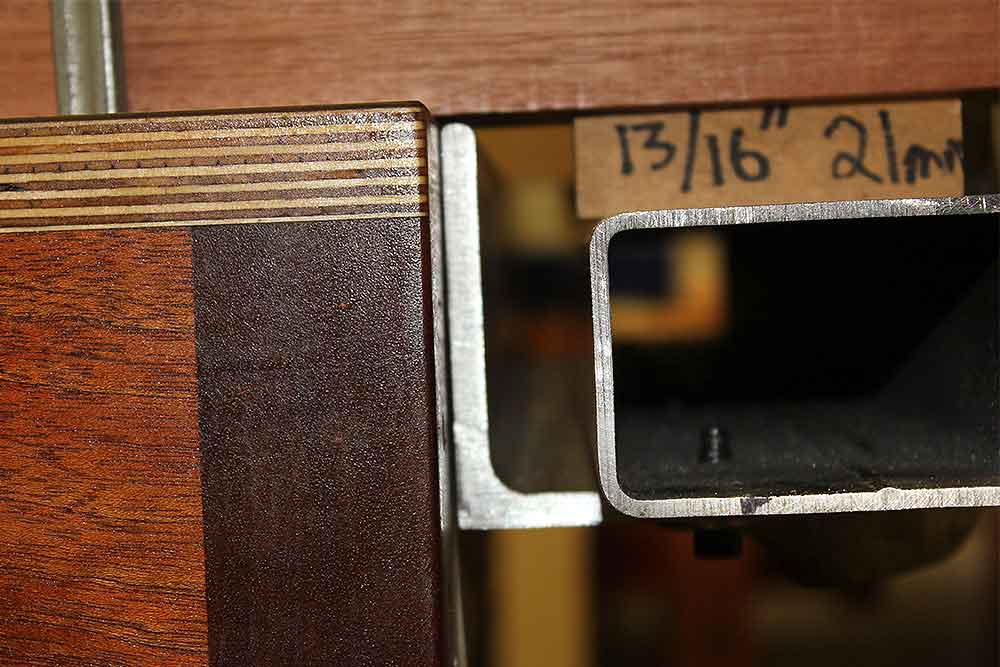
BLOG POST: Guide Rail Spacing Specifications – Step Down
Another important measurement is the step down spacing; the measurement from the top of the table to the top of the tubing. Allan shows his technique.
READ MORE